And so the summer begins!
It's hot outside. And in this weather, there's nothing better than a cool refreshing mojito. I love them. I discovered them when I lived in Philly. There was a Cuban restaurant around the corner from where I worked and my co-workers and I would go for happy hour. The mojitios were $1.50. For a poor college student with no A/C, they were my survival tool through the summer heat.
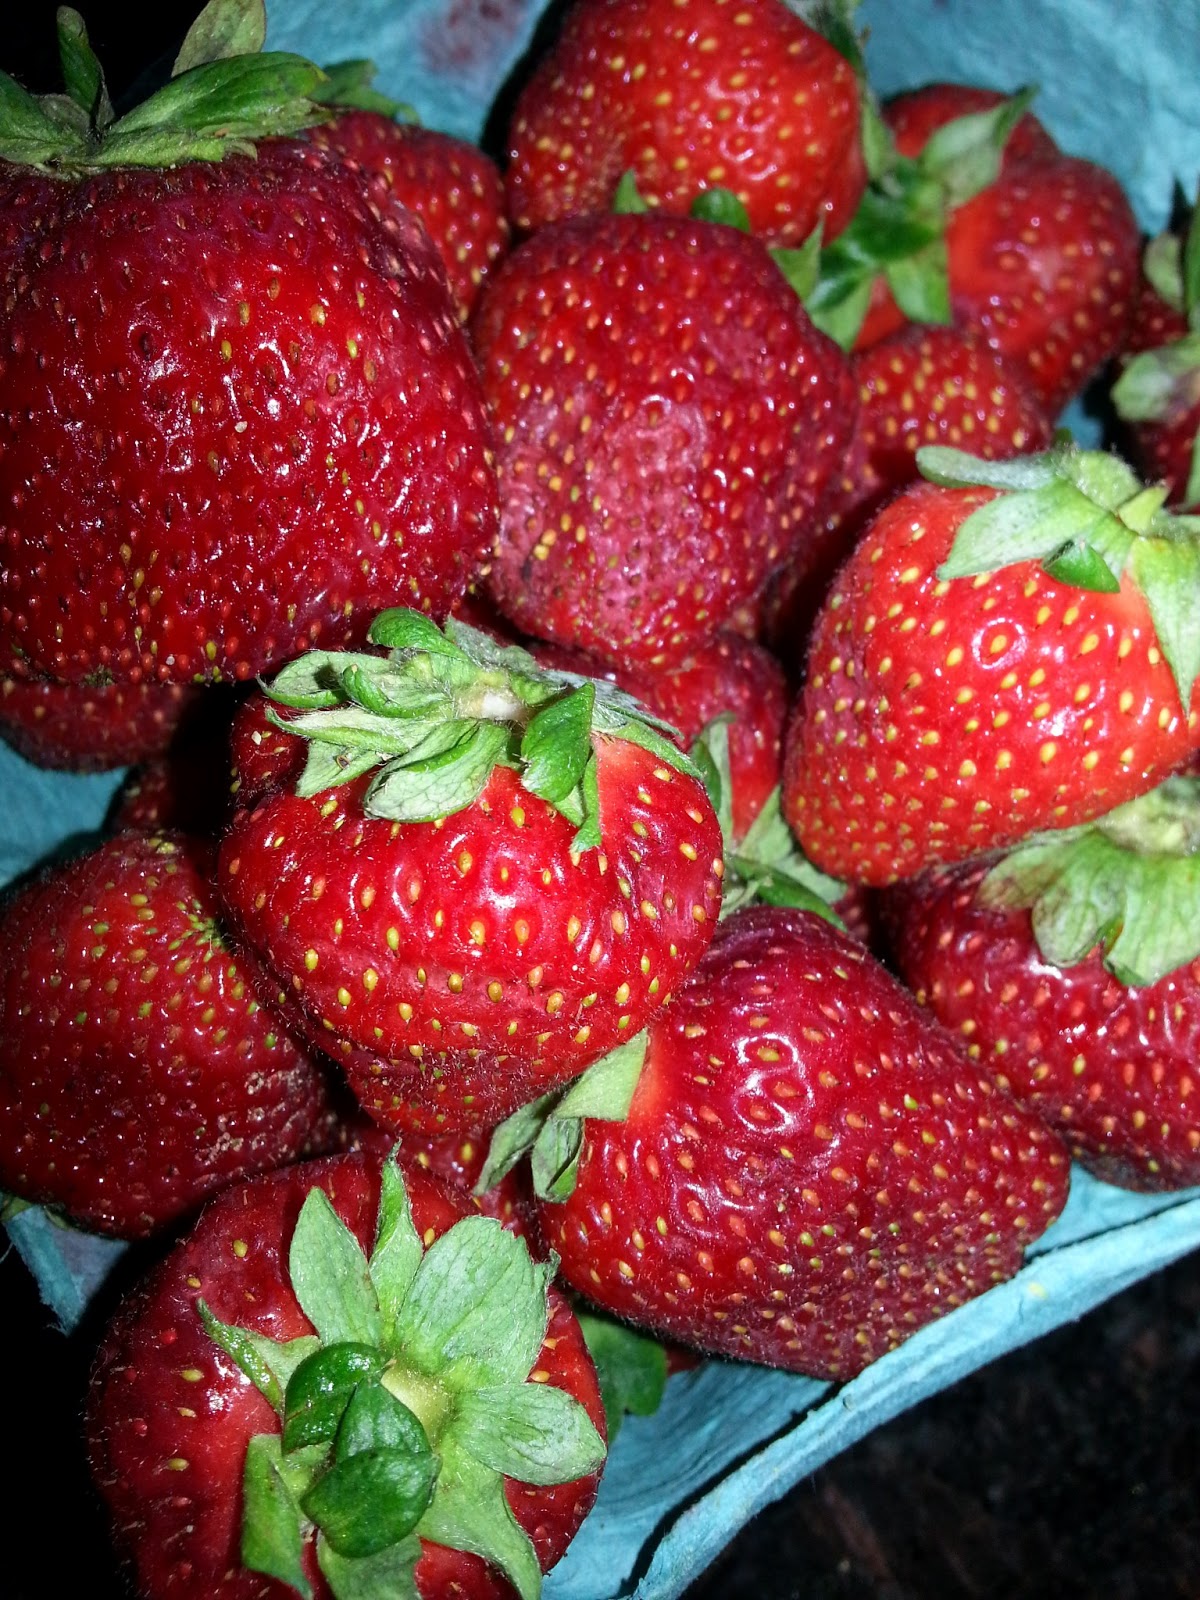
This week, we got fresh strawberries and mint from my CSA. Strawberry mojitos, yummy. Since I can never eat them fast enough and I can't exactly get drunk on mojitos while watching my twins, I decided to make a granita. Taking a cue from my college days, I merged the two together and came up with a Strawberry Mojito Granita
For those of you who don't know what a granita is, it's frozen dessert similar to water ice. The awesome thing is you don't need any special equipment to make this. All you need is a fork, a shallow baking dish,a blender, and a freezer. Two hours later you have a cool refreshing dessert that the whole family will love.
Now, I didn't use any alcohol to make this, but you can add a shot or two of rum into the mix before you freeze it and it would be an awesome adult dessert. Or for an extra special treat, throw some of the finished granita and a little rum in your blender and serve up some Frozen Mojitos!
Strawberry Mojito Granita
1 pint fresh strawberries
24-36 fresh mint leaves (depends on how potent you mint is)
2 tsp granulated sugar
Zest and juice from 2 limes
1/2 cup boiling water
Rinse your mint and pat dry. Put the mint leaves in a glass or bowl (I used an 8 oz mason jar) and pour the 2 tsp of sugar on top. Using the back of a spoon, a muddler if you have one, or in my case, a honey drizzler, and mash up the sugar and mint leaves until you get a paste. Add in the lime zest and then pour the hot water on top. I used my Kurig and used the 8 oz setting. Let the mint steep in the hot water for 15 minutes.
While that steeps, rinse and cut the tops off your strawberries and throw in a blender. Add in the lime juice. Pour the mint and water mixture into the blender and puree. Once the mixture is smooth pour in your baking dish. I use a 13x9 glass pan. The thinner layer you use the faster it freezes. Place in the freezer.
After 30 minutes take your fork and scrape to break up the ice crystals. Place back in the freezer and repeat every 30 minutes for 2 hours. It should be about the constancy of a slushy when done. If it freezes too much, you can put it in you blender and pulse to break up the crystals.
Leave your comments, question or suggestions on new recipes. Join our face book group for additional tips and get alerts when new posts are added.
Friday, May 31, 2013
Wednesday, May 29, 2013
How to store fresh ginger root
I don't know about you, but whenever I use a recipe that calls for fresh ginger, I go out and buy a fresh root, way bigger than I need, and then it goes bad before I can use it. I was watching food network and one of the chefs said that they kept it in their freezer. Genius idea. I can do that.
Well I kept it in the freezer, but the next time I went to use it, I couldn't cut a 1 inch chunk off because it was frozen solid. The only way to cut a piece is to thaw it, and once you thaw it, you can't refreeze it. Another problem is trying to peel the ginger root after it's been frozen. The skin sticks to the root and is more frustrating than its worth.
So how to solve this problem. First when you get the root home. Peel the whole root. Cut it into 1 inch chunks and put them in a Ziploc bag. Label and date them. When you need fresh ginger. Pull out a chunk and use. Fresh ginger at your finger tips anytime you need it.
Tuesday, May 28, 2013
Banana Yogurt Pancakes
It's been months since my last post, but I'm back!
It has been so hard to get a few minutes during the day to update the blog. My twins have recently turned one and they barely let me get a minute to myself. However, they are now taking longer naps during the day, so I should be able to post more often.
With that being said I have been cooking up a storm over the last few months and taking lots of pictures so we have lots of quick, healthy, freezable meals coming up over the next few weeks.
My kids are starting to eat a larger variety of food, which means I have to have a large variety on hand in my freezer. The mornings are the hardest for me to cook because they are impatient and want to eat as soon as they get up. So when I cook breakfast, I make a large batch and freeze it so I can quickly grab it and throw it in the microwave.
These banana yogurt pancakes are so good and super easy to make. They are also perfect for anyone that has any egg allergies since they are egg-less and these pancakes can be made vegan by using soy yogurt instead. Since I make this for my kids, I do use whole milk yogurt, but you can use any that you prefer.
These pancakes are not going to win an award for fluffiness, but they are darn tasty, especially if you spread some Nutella on top. Yummy!
Banana Yogurt Pancakes
2 Ripe Bananas
1 cup yogurt
1 tsp vanilla extract
1 cup Bisquick
Peel and mash the bananas. Once they are mashed mix in the vanilla, yogurt and completely incorporate. Next add in the Bisquick. Whisk together. It will be the consistency of regular pancake batter. If you find it a little to thick you can thin out with a little milk or water.
Pour on a well greased griddle. Once they begin to bubble, flip over and brown on other side. Remove and serve warm.
Freezing Instruction: Allow the pancakes to cool completely. Stack the pancakes with wax or parchment paper in between to prevent them from sticking together. Freeze.
To reheat place in a microwave for 1 minute and serve warm.
Subscribe to:
Posts (Atom)