Friday, May 31, 2013

Strawberry Mojito Granita

And so the summer begins!

It's hot outside. And in this weather, there's nothing better than a cool refreshing mojito. I love them. I discovered them when I lived in Philly. There was a Cuban restaurant around the corner from where I worked and my co-workers and I would go for happy hour. The mojitios were $1.50. For a poor college student with no A/C, they were my survival tool through the summer heat.
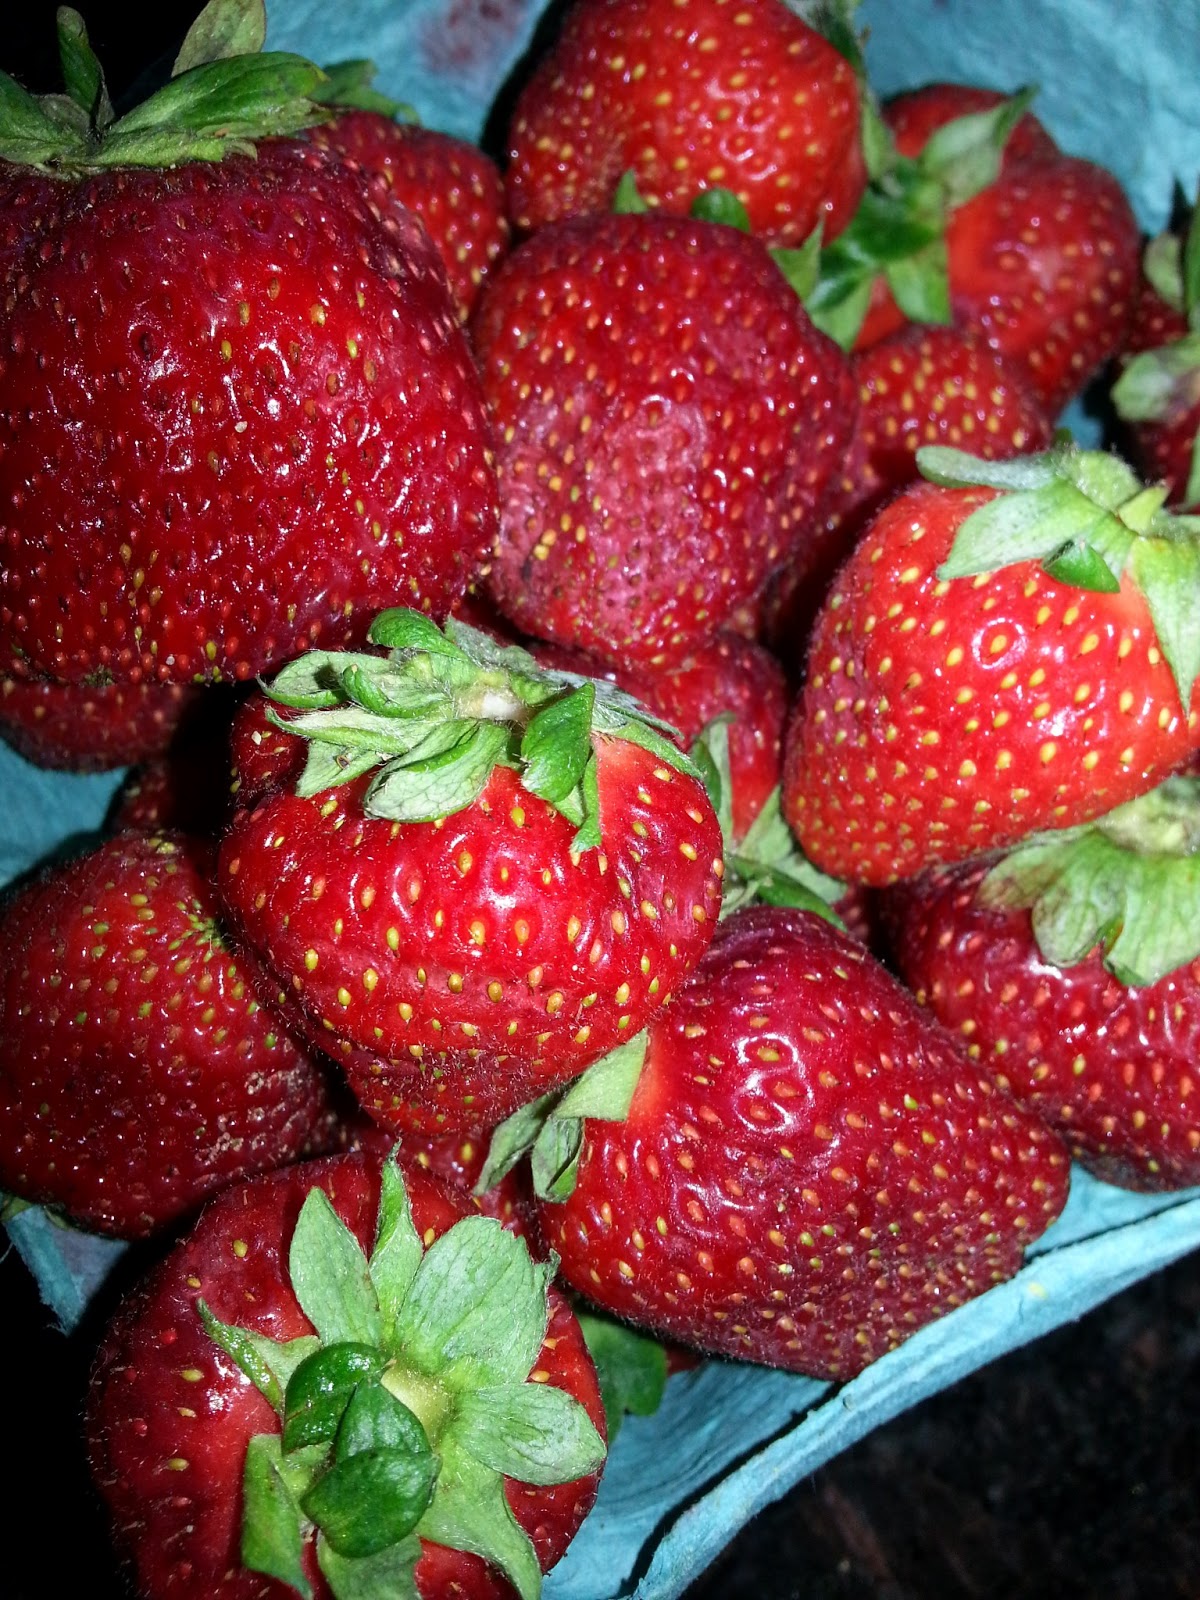
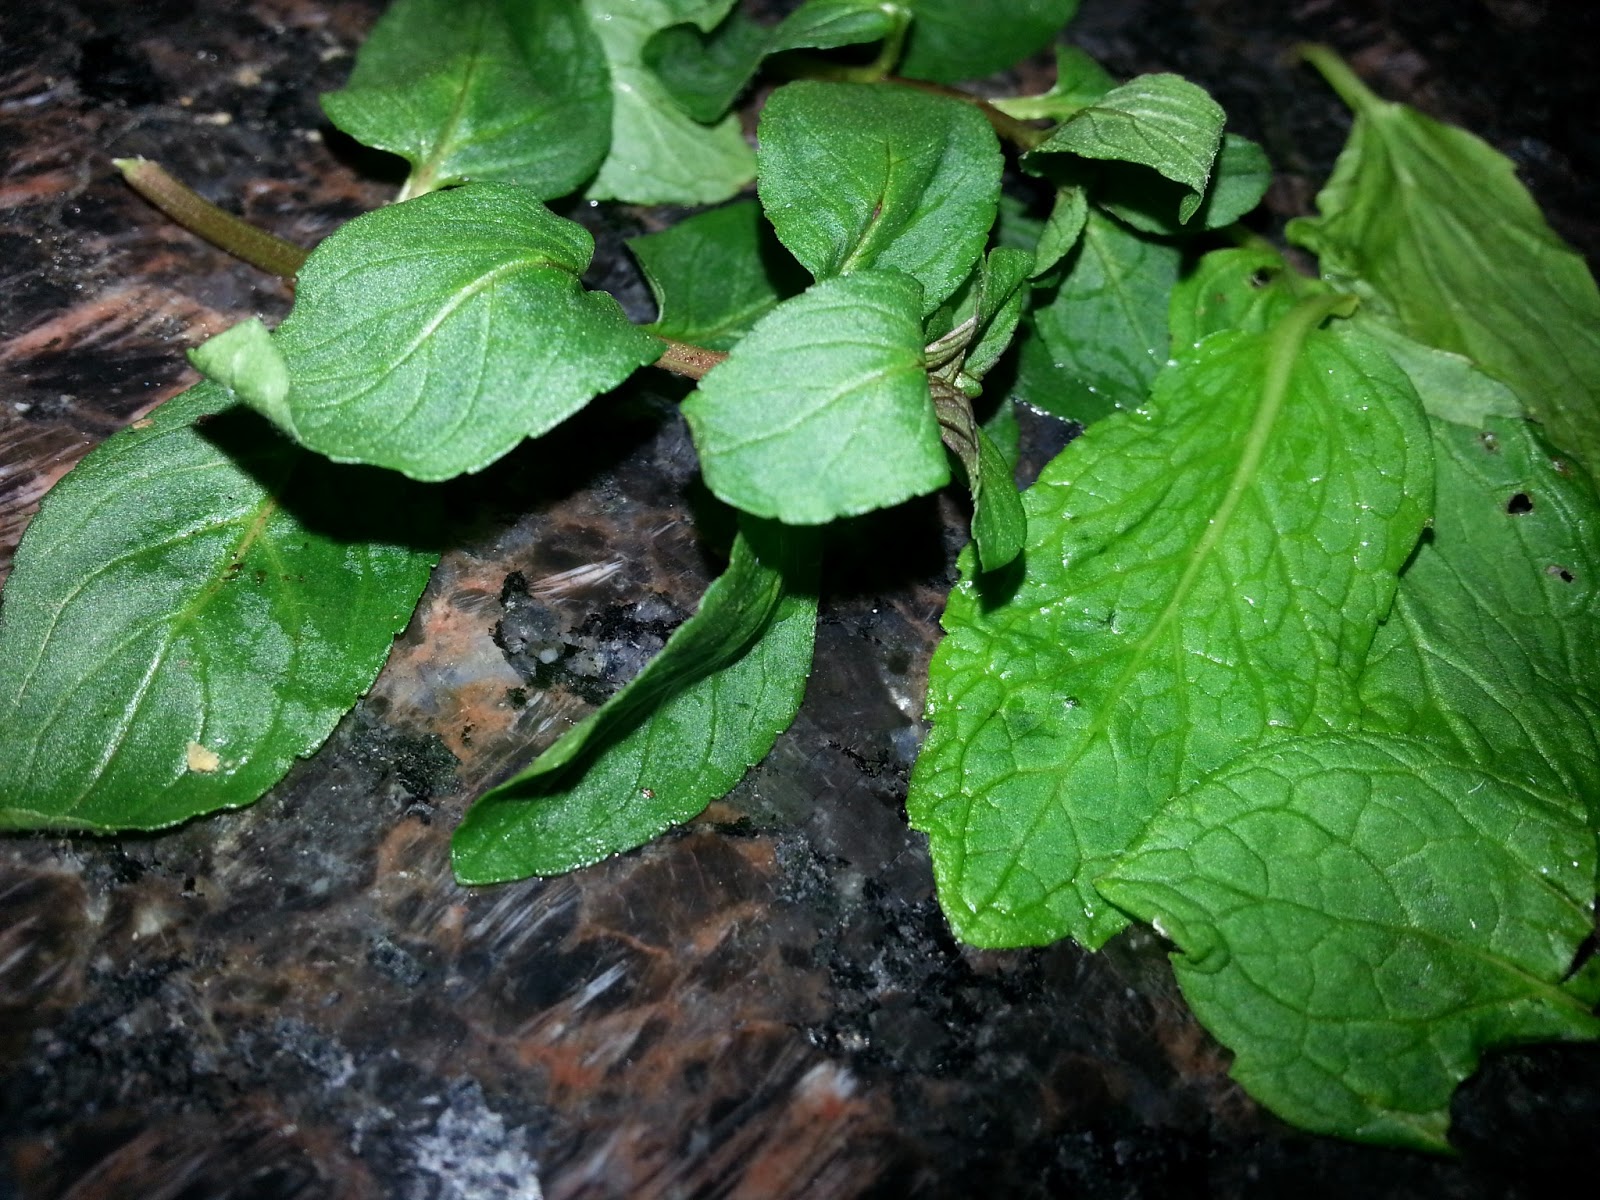
This week, we got fresh strawberries and mint from my CSA. Strawberry mojitos, yummy. Since I can never eat them fast enough and I can't exactly get drunk on mojitos while watching my twins, I decided to make a granita.  Taking a cue from my college days, I merged the two together and came up with a Strawberry Mojito Granita

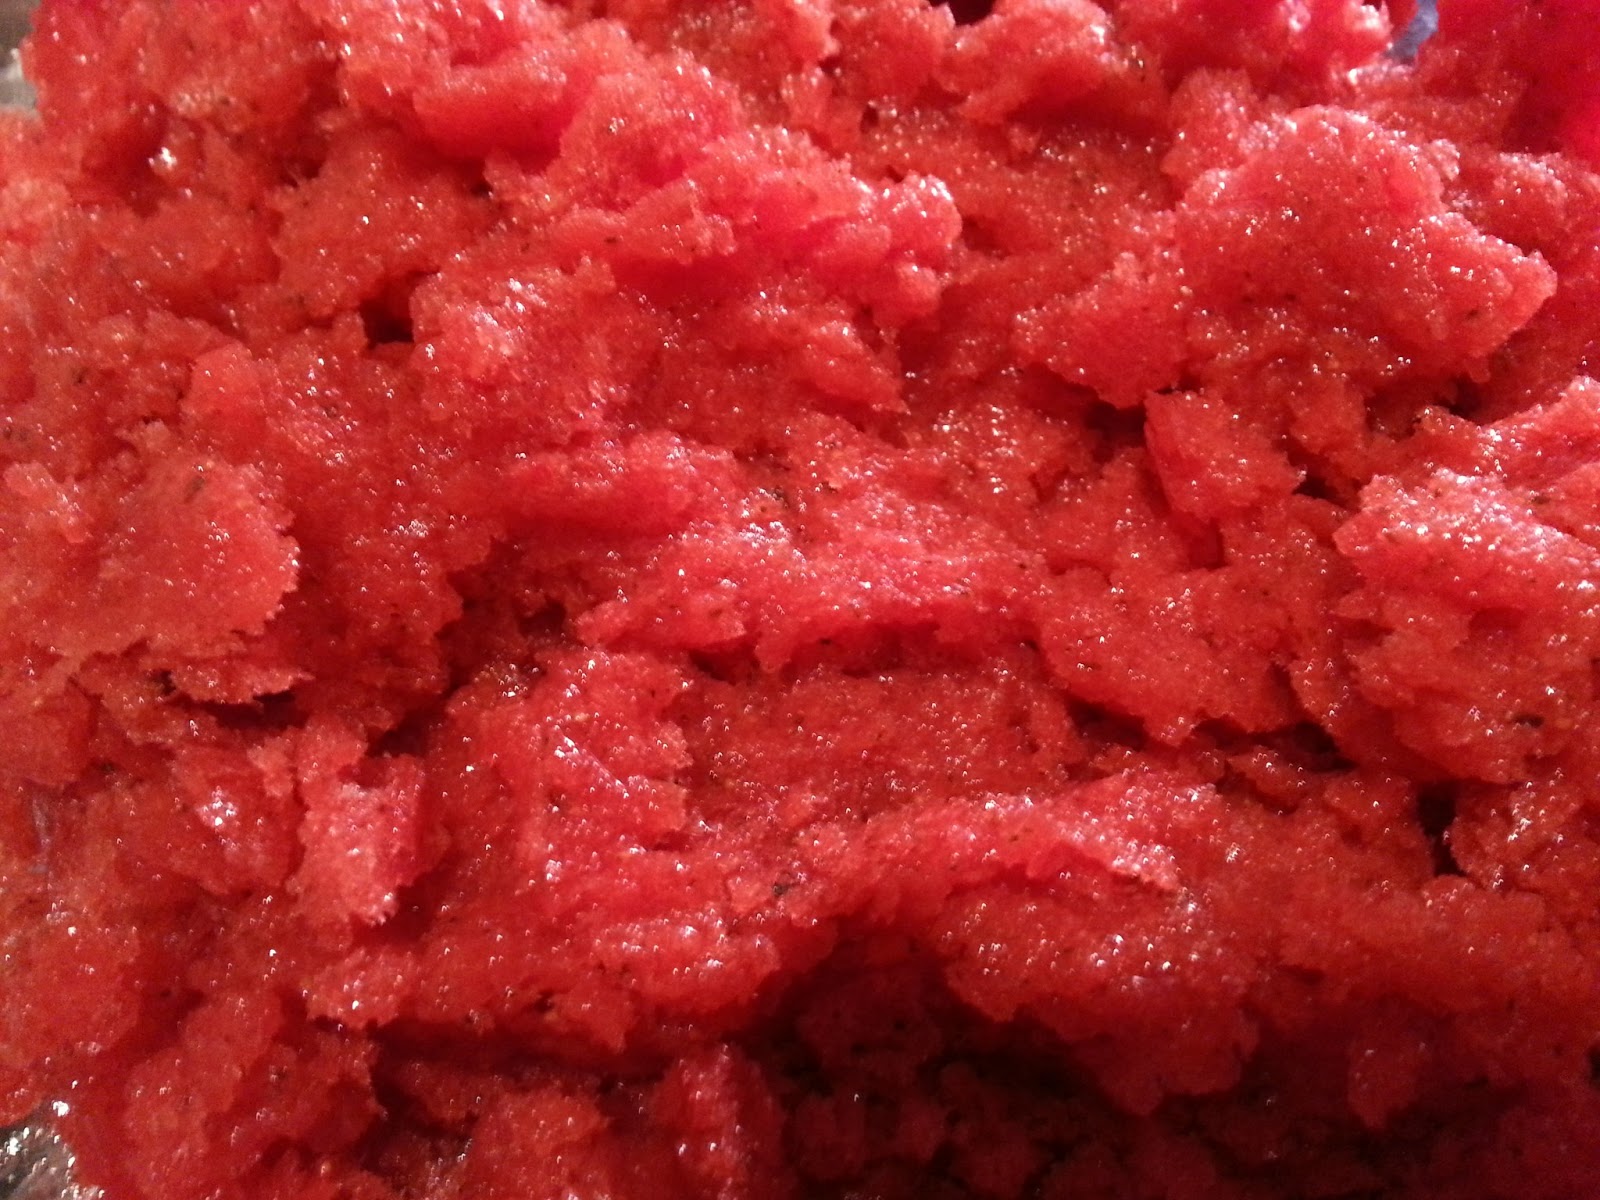
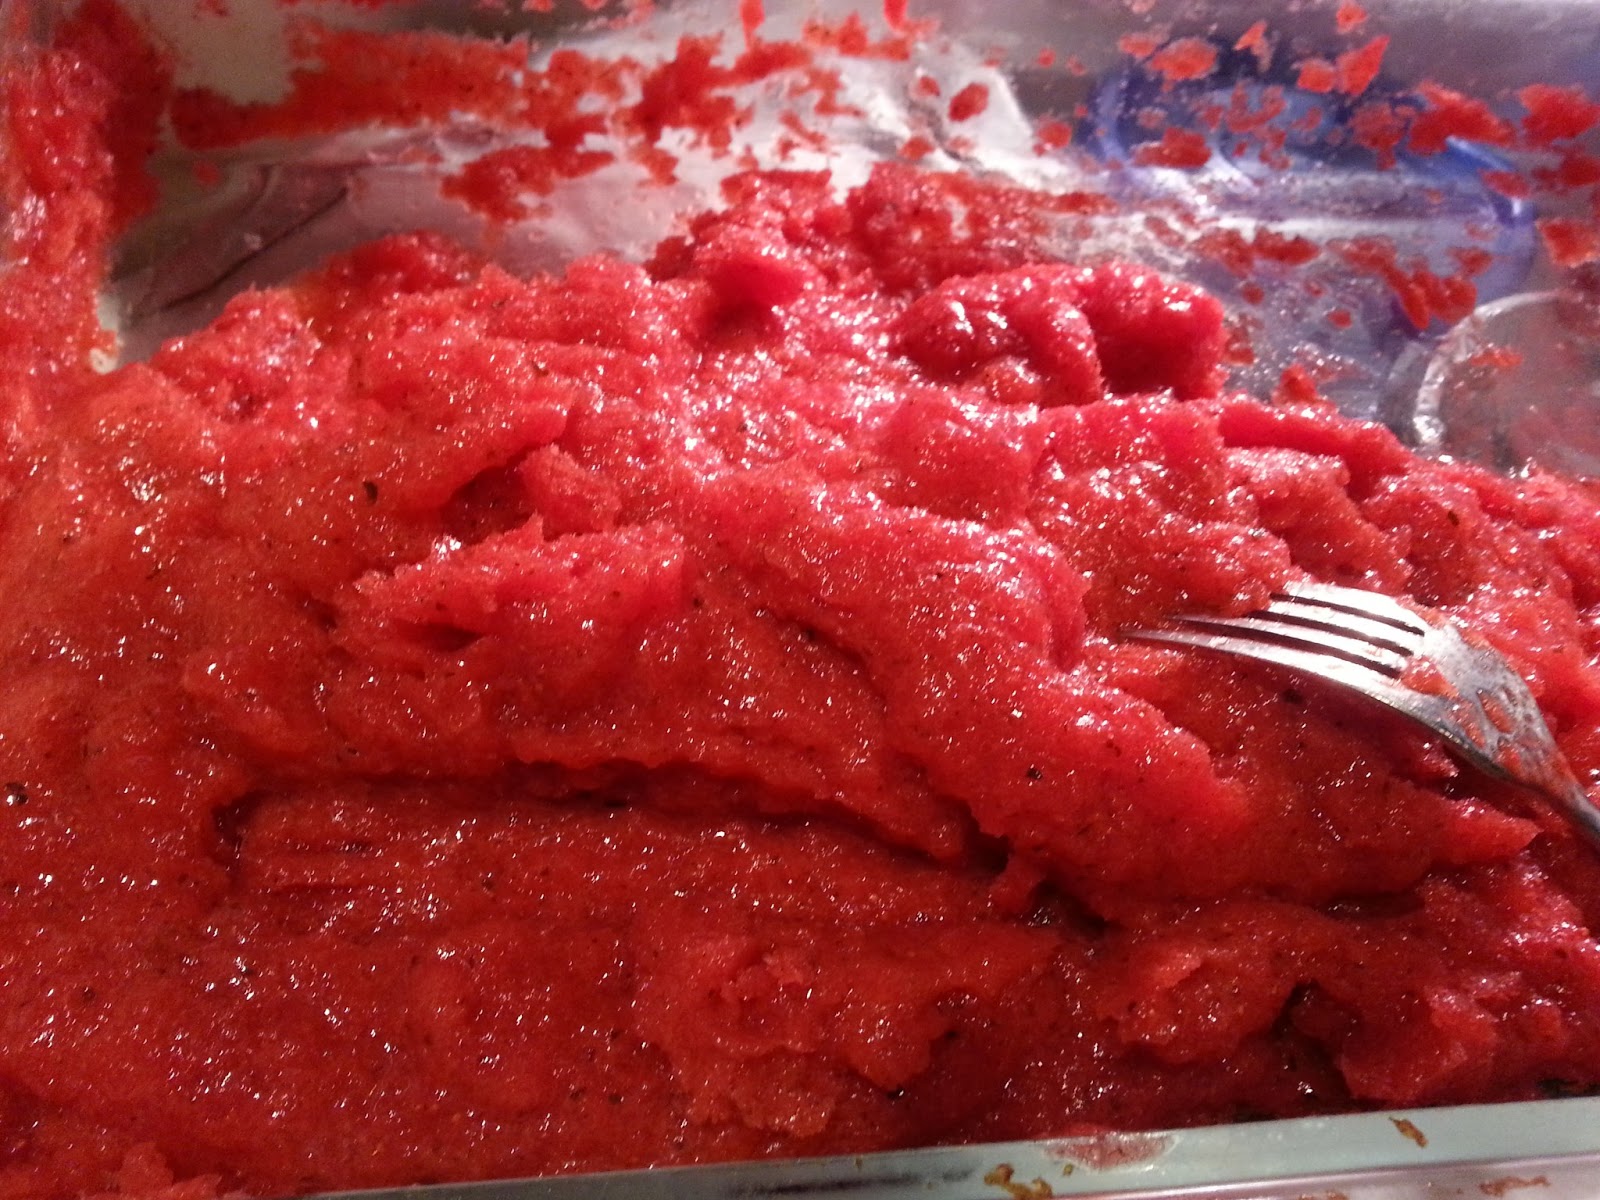
For those of you who don't know what a granita is, it's frozen dessert similar to water ice. The awesome thing is you don't need any special equipment to make this. All you need is a fork, a shallow baking dish,a blender, and a freezer. Two hours later you have a cool refreshing dessert that the whole family will love.
Now, I didn't use any alcohol to make this, but you can add a shot or two of rum into the mix before you freeze it and it would be an awesome adult dessert.  Or for an extra special treat, throw some of the finished granita and a little rum in your blender and serve up some Frozen Mojitos!

Strawberry Mojito Granita
1 pint fresh strawberries
24-36 fresh mint leaves (depends on how potent you mint is)
2 tsp granulated sugar
Zest and juice from 2 limes
1/2 cup boiling water

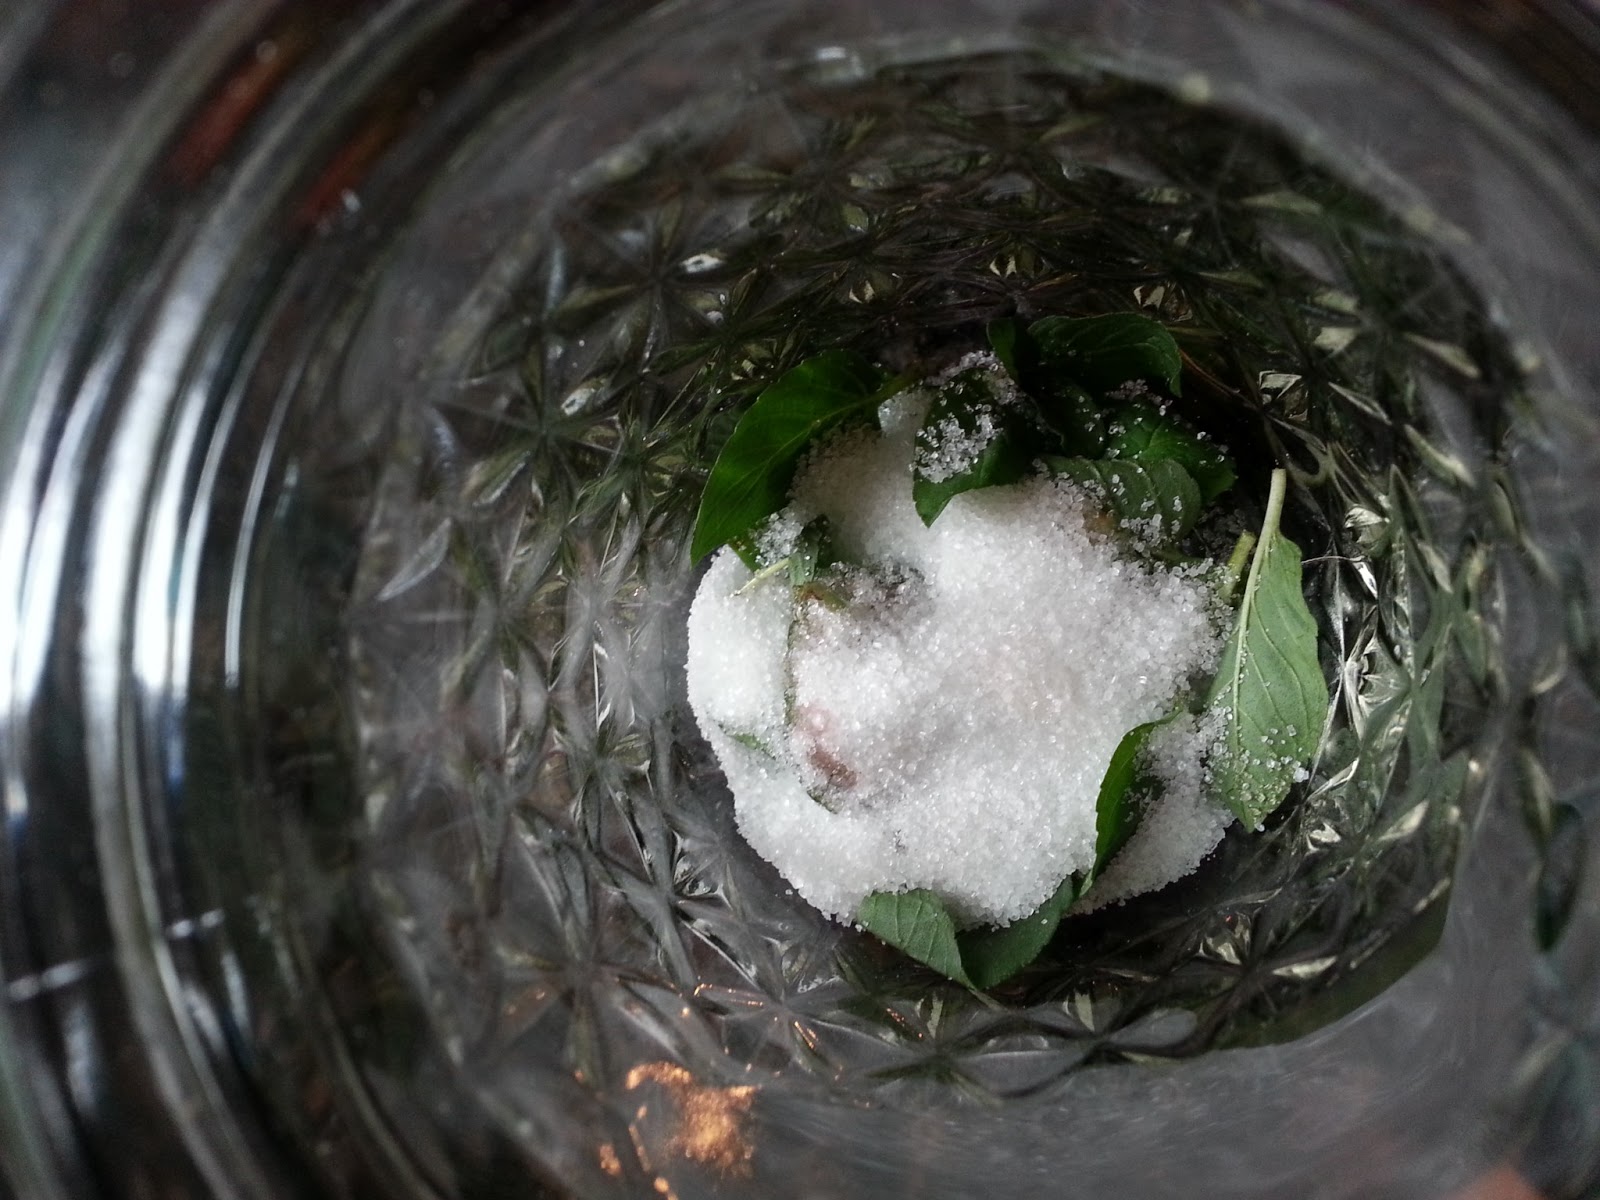
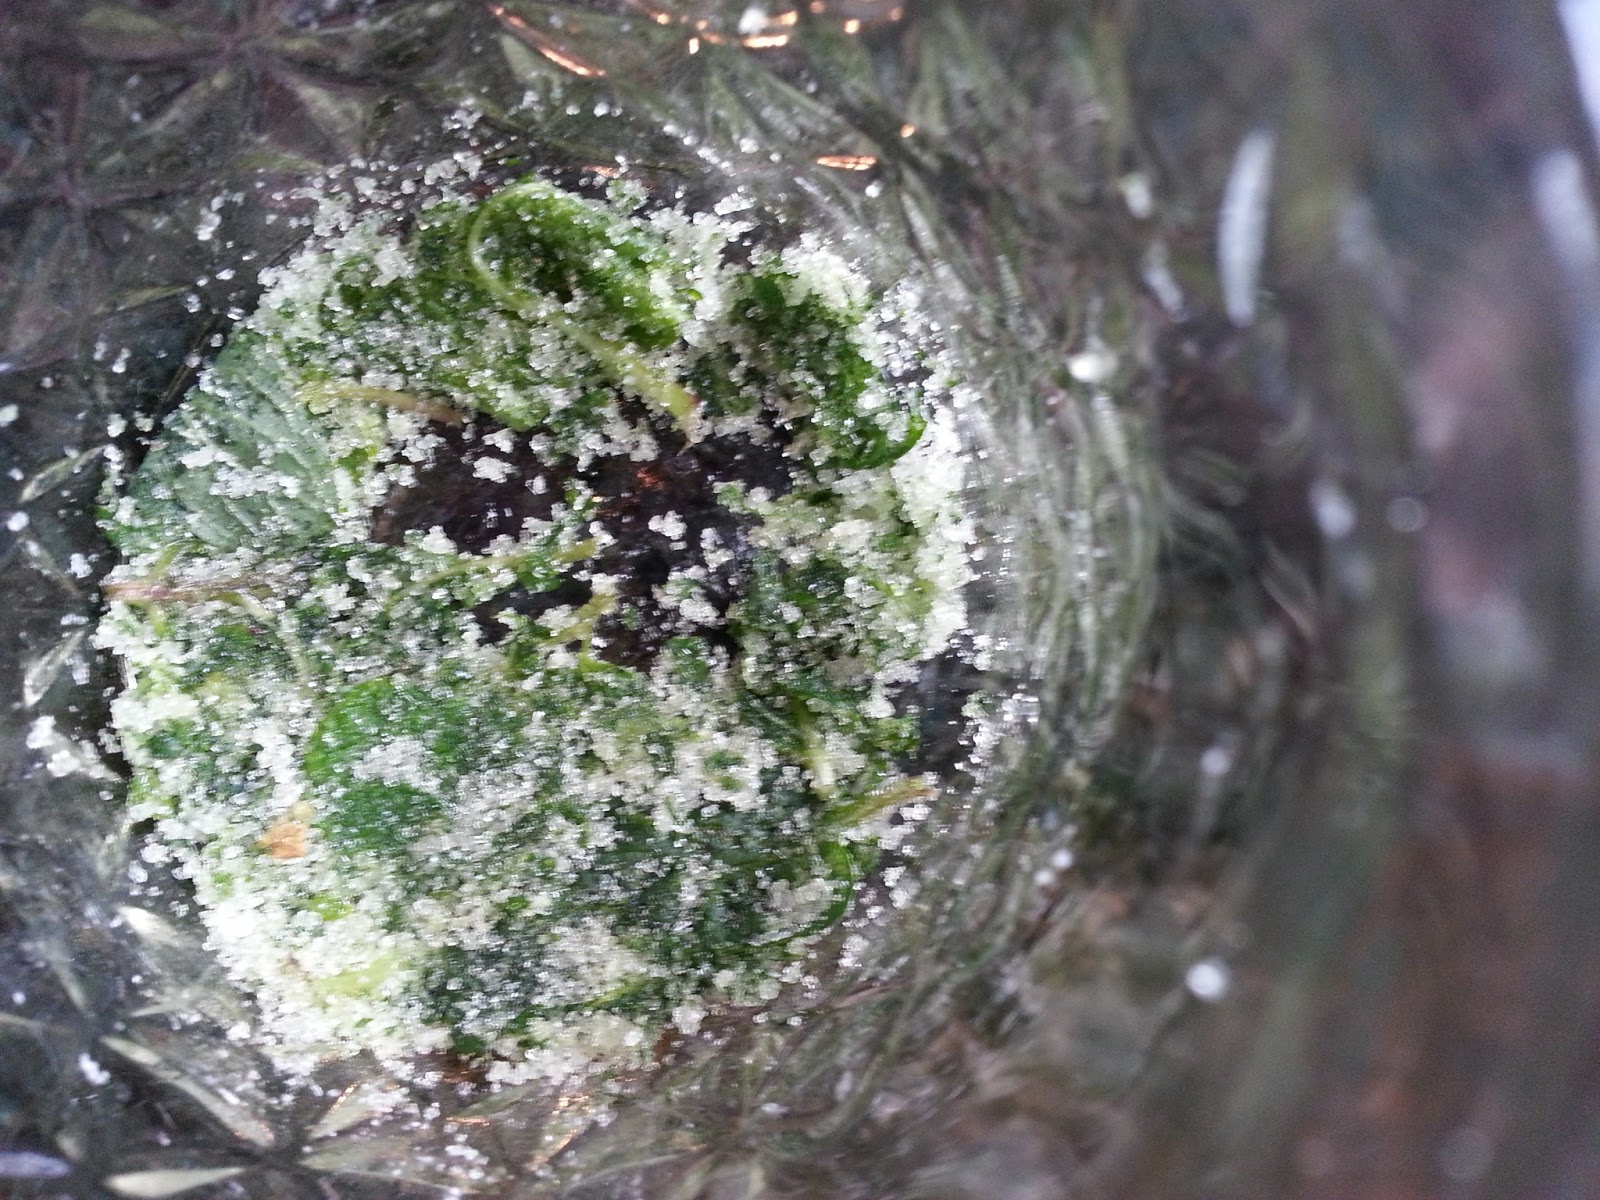
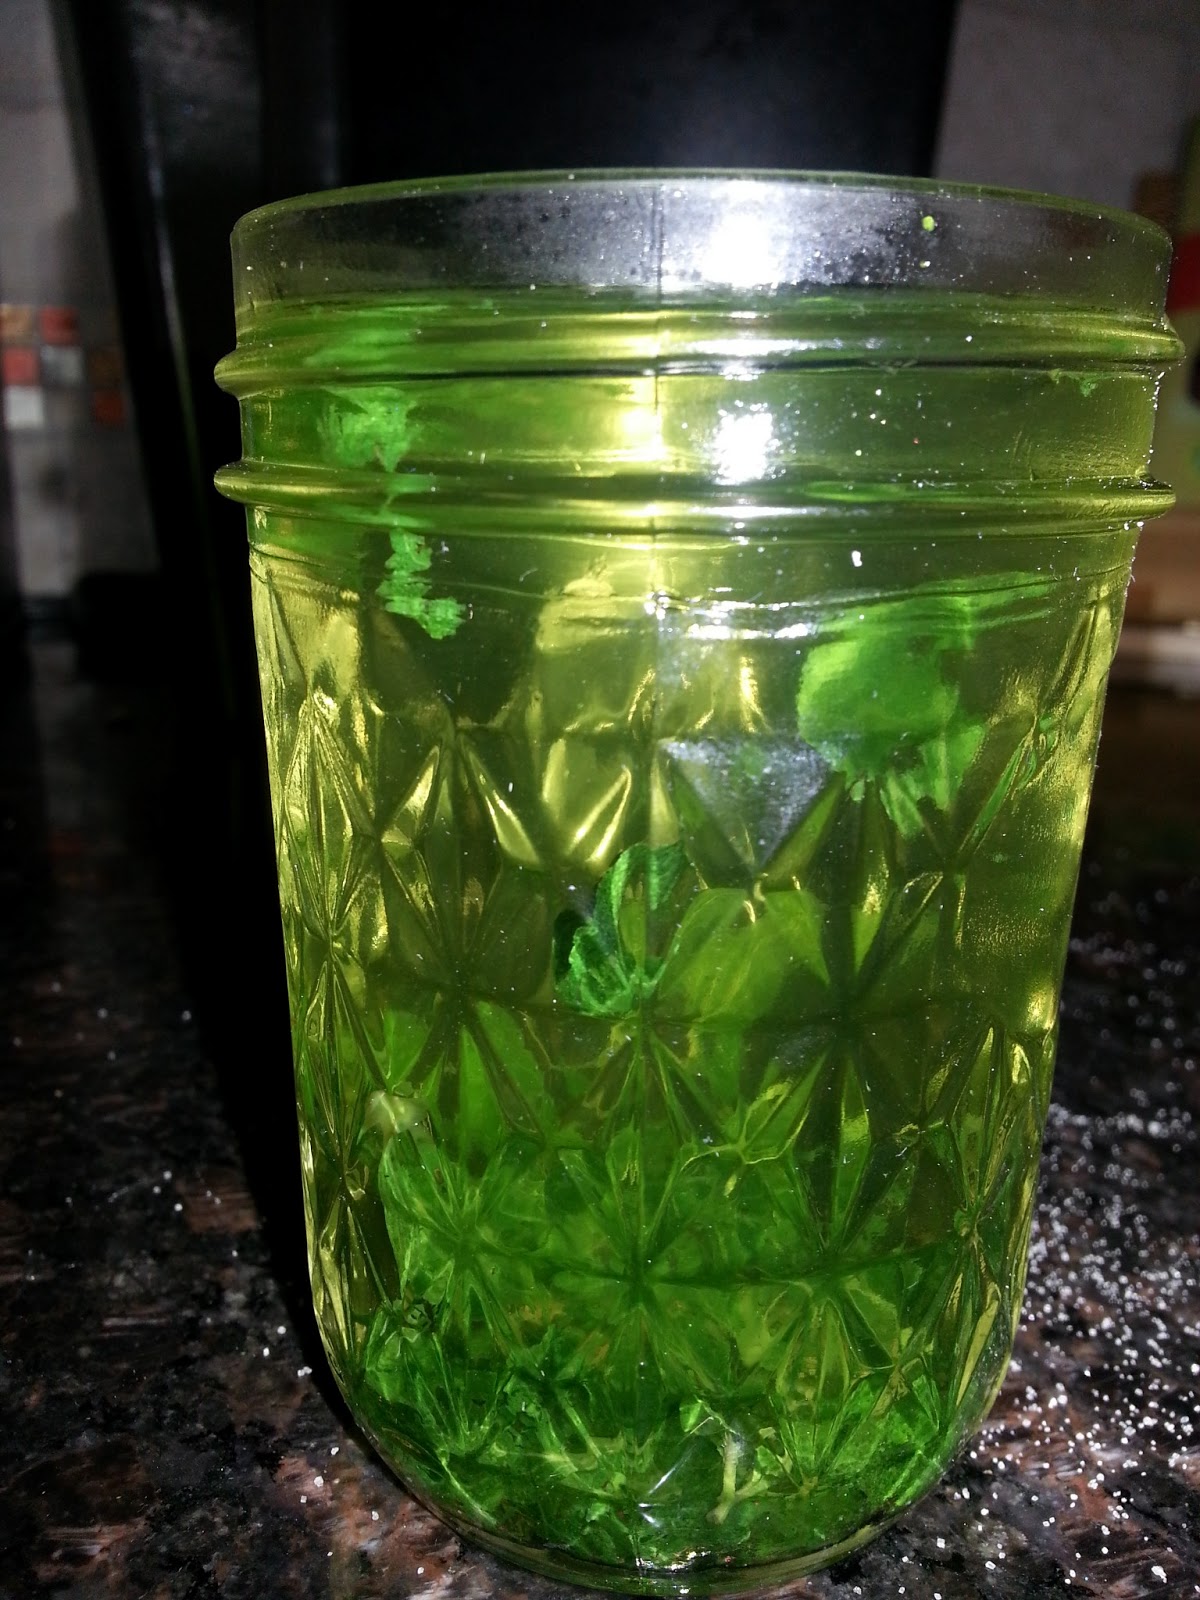
Rinse your mint and pat dry. Put the mint leaves in a glass or bowl (I used an 8 oz mason jar) and pour the 2 tsp of sugar on top. Using the back of a spoon, a muddler if you have one, or in my case, a honey drizzler, and mash up the sugar and mint leaves until you get a paste. Add in the lime zest and then pour the hot water on top. I used my Kurig and used the 8 oz setting. Let the mint steep in the hot water for 15 minutes.
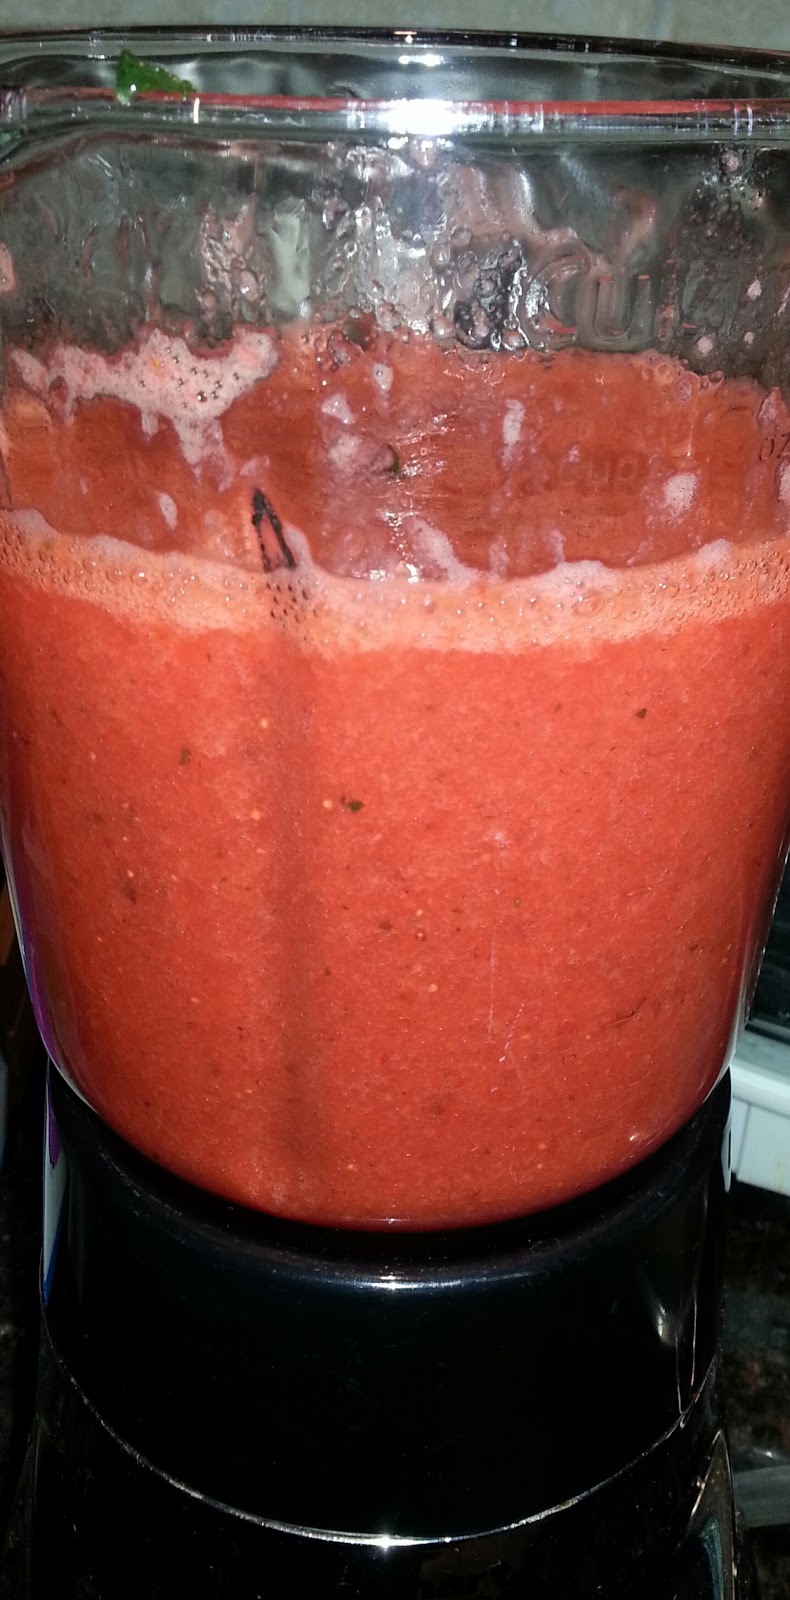
While that steeps, rinse and cut the tops off your strawberries and throw in a blender. Add in the lime juice. Pour the mint and water mixture into the blender and puree. Once the mixture is smooth pour in your baking dish. I use a 13x9 glass pan. The thinner layer you use the faster it freezes. Place in the freezer.

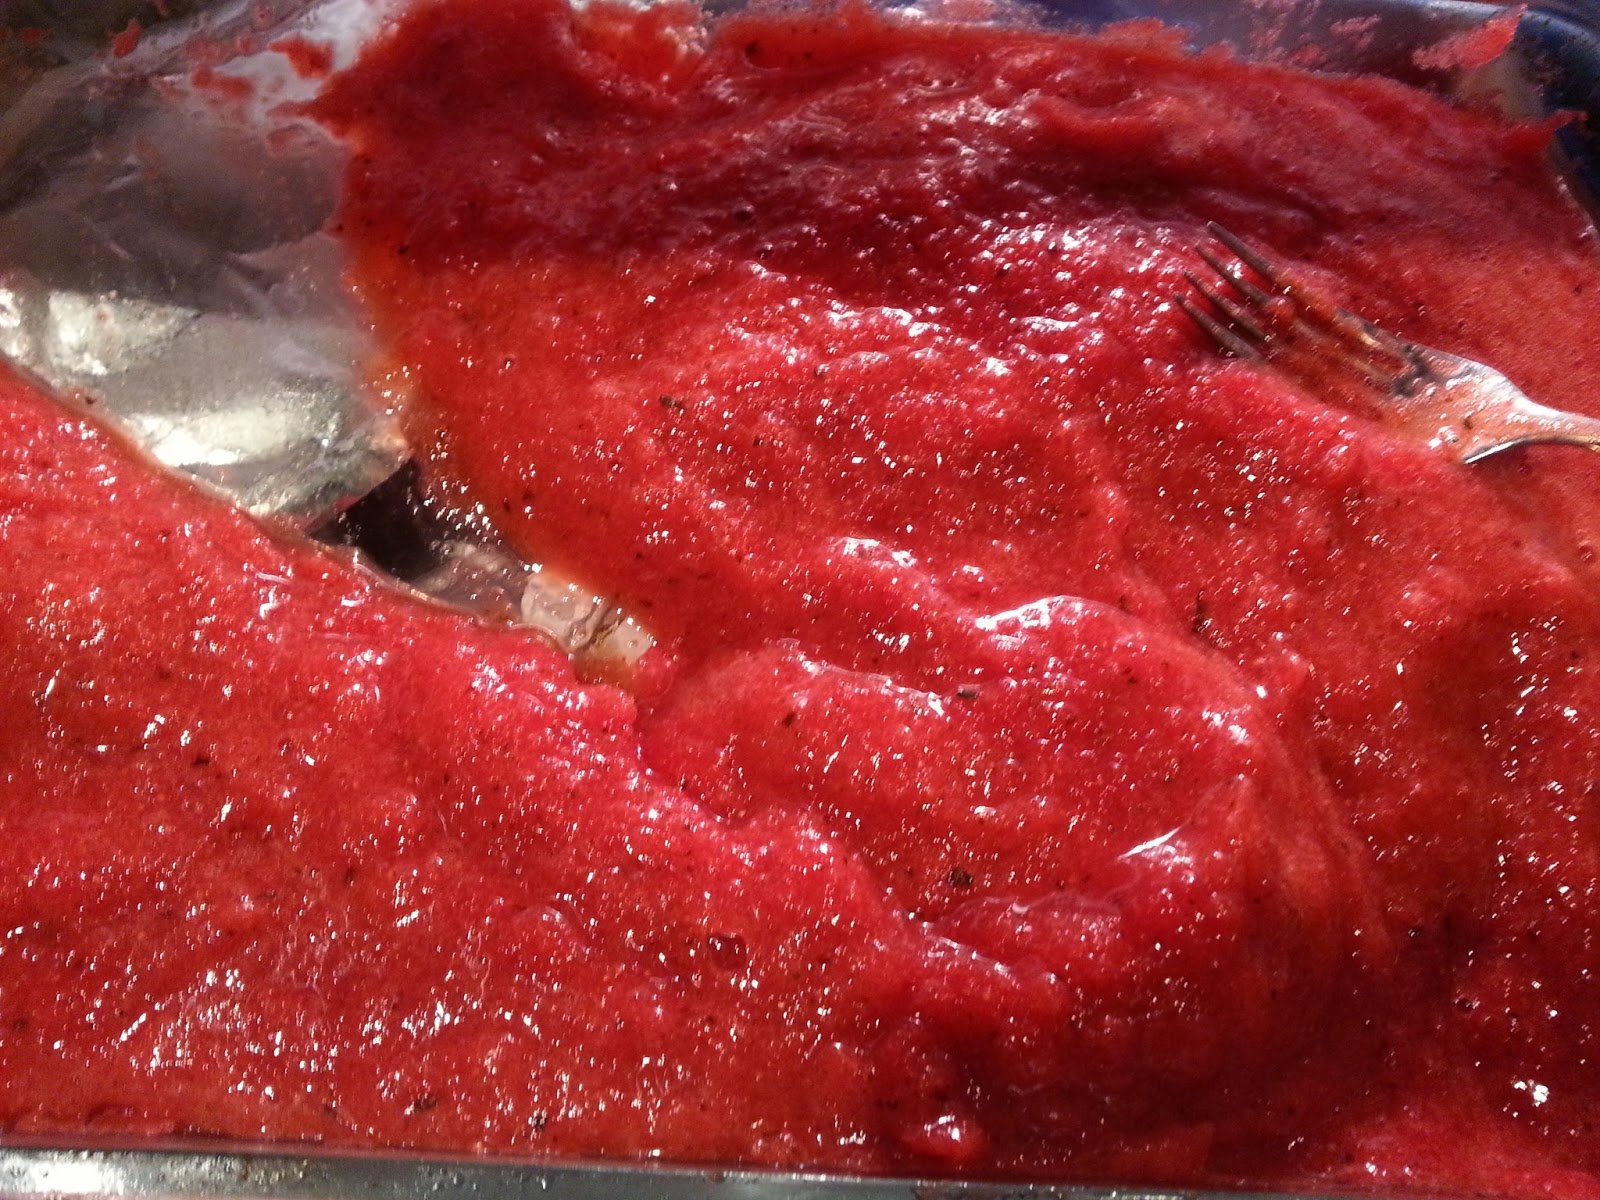
After 30 minutes take your fork and scrape to break up the ice crystals. Place back in the freezer and repeat every 30 minutes for 2 hours. It should be about the constancy of a slushy when done. If it freezes too much, you can put it in you blender and pulse to break up the crystals.





Wednesday, May 29, 2013

How to store fresh ginger root

I don't know about you, but whenever I use a recipe that calls for fresh ginger, I go out and buy a fresh root, way bigger than I need, and then it goes bad before I can use it. I was watching food network and one of the chefs said that they kept it in their freezer. Genius idea. I can do that.

Well I kept it in the freezer, but the next time I went to use it, I couldn't cut a 1 inch chunk off because it was frozen solid. The only way to cut a piece is to thaw it, and once you thaw it, you can't refreeze it. Another problem is trying to peel the ginger root after it's been frozen. The skin sticks to the root and is more frustrating than its worth.

So how to solve this problem. First when you get the root home. Peel the whole root. Cut it into 1 inch chunks and put them in a Ziploc bag. Label and date them. When you need fresh ginger. Pull out a chunk and use. Fresh ginger at your finger tips anytime you need it.
 

Tuesday, May 28, 2013

Banana Yogurt Pancakes

It's been months since my last post, but I'm back!

It has been so hard to get a few minutes during the day to update the blog. My twins have recently turned one and they barely let me get a minute to myself. However, they are now taking longer naps during the day, so I should be able to post more often.

With that being said I have been cooking up a storm over the last few months and taking lots of pictures so we have lots of quick, healthy, freezable meals coming up over the next few weeks. 

My kids are starting to eat a larger variety of food, which means I have to have a large variety on hand in my freezer. The mornings are the hardest for me to cook because they are impatient and want to eat as soon as they get up. So when I cook breakfast, I make a large batch and freeze it so I can quickly grab it and throw it in the microwave.

These banana yogurt pancakes are so good and super easy to make. They are also perfect for anyone that has any egg allergies since they are egg-less and these pancakes can be made vegan by using soy yogurt instead. Since I make this for my kids, I do use whole milk yogurt, but you can use any that you prefer. 

These pancakes are not going to win an award for fluffiness, but they are darn tasty, especially if you spread some Nutella on top. Yummy!

Banana Yogurt Pancakes

2 Ripe Bananas
1 cup yogurt
1 tsp vanilla extract
1 cup Bisquick

Peel and mash the bananas. Once they are mashed mix in the vanilla, yogurt and completely incorporate. Next add in the Bisquick. Whisk together. It will be the consistency of regular pancake batter. If you find it a little to thick you can thin out with a little milk or water.


Pour on a well greased griddle. Once they begin to bubble, flip over and brown on other side.  Remove and serve warm.

Freezing Instruction: Allow the pancakes to cool completely. Stack the pancakes with wax or parchment paper in between to prevent them from sticking together. Freeze.

To reheat place in a microwave for 1 minute and serve warm.


Wednesday, January 2, 2013

Sausage and Lentil Soup

Happy New Year to everyone. I hope everyone had a great holiday season and a happy new year. I apologize for slacking on the posts, but with the holidays and the twins, I've barely had time to sleep, let alone post. The good news is I have been cooking like a mad woman, and taking pictures all along the way so there are plenty of new recipes coming up. Not only are the recipes going to be for meals that are perfect for freezing, but there will be recipes on how to use some of the items you've packed in your freezer already.


My new years resolution is to eat healthier  I know who's isn't. so with each of the recipes i'm going to include a nutritional break down. This helps to plan your meals better, and for the calorie counters out there, it save the time in trying to figure out what is in each recipe.

So the first recipe of the new year is a sausage and lentil soup. This soup is a kicked up version of traditional lentil soup. My husband also likes it a bit spicy so i use a hot sausage, but you can use a sweet sausage or chicken sausage if prefer. It is so easy to make because its a one pot meal. this can be made stove top or in the crock-pot and they both come out equally delicious. This meal freezes well, and is perfect during the cold winter months.

Sausage and Lentil Soup


Ingredients:
1 Tbsp olive oil
1 cup Lentils
Spicy Sausage, 4 links cut into 1/4 inch rounds
1 Carrot   chopped, and peeled
1 Parsnip peeled and chopped
1 Leeks thinly sliced
1 small Onions chopped
1 yellow pepper chopped
6 cup Chicken Broth
2 cup Water
1 Bay Leaf
1 tsp Tabasco Sauce
1 Tbsp Cumin
1 tsp paprika
Salt and Pepper

 In a large stock pot, heat the oil and then saute the sausage until nice and brown on all sides. Then add in the onions, carrots, leeks, pepper and parsnips, cook for 2-3 minutes, so that they begin to sweat. Pour the cumin and paprika into the pot and the cook for 1 minute. Then add in the Chicken broth, water, bay leaf, and Tabasco  Bring to a boil and add in the lentils. Cook for 35 minutes. season with salt and pepper.


Nutrition Facts
  8 Servings

Amount Per Serving
  Calories        116.2

  Total Fat        4.6 g
              Saturated Fat  1.6 g
              Polyunsaturated Fat   1.0 g
              Monounsaturated Fat 3.2 g
  Cholesterol    9.1 mg
  Sodium          826.8 mg
  Potassium      662.1 mg
  Total Carbohydrate    15.1 g
              Dietary Fiber  3.9 g
              Sugars            2.9 g
  Protein           5.4 g
  Vitamin A      46.6 %
  Vitamin B-12 8.2 %
  Vitamin B-6   11.9 %
  Vitamin C      81.5 %
  Vitamin D      0.0 %
  Vitamin E      3.4 %
  Calcium         5.2 %
  Copper           17.5 %
  Folate 20.6 %
  Iron    15.9 %
  Magnesium    8.1 %
  Manganese     36.1 %
  Niacin            27.0 %
  Pantothenic Acid       5.1 %
  Phosphorus                20.6 %
  Riboflavin     9.4 %
  Selenium        9.7 %
  Thiamin         10.1 %
  Zinc   7.1 %

*Percent Daily Values are based on a 2,000 calorie diet. Your daily values may be higher or lower depending on your calorie needs.


Monday, December 10, 2012

Chunky Red Chili


This whole weekend had been dark, rainy, and dreary. I’ll I want to do is snuggle up on the couch with a piping hot bowl of chili. The twins keep me running, so snuggling up on the couch may be out, but I can make a big pot of chili, and let it cook while I chase after my little ones. Chili has a way of warming up not only your body, but your soul as well. And chili freezes so well and you can make a big batch and freeze individual portions so eat on a rainy day to warm up your day.

I know traditional chili has no beans, or what some people call filler ingredients. If you are one of those chili purest, then don’t think of this recipe as a chili, think of it as a chili inspired soup. This is thick, chunky, and packed full of flavor in every spoonful. You can make it as spicy or mild as you like. This is a spicier chili, so if you don’t like it that spicy leave out the jalapeno and cut back the cayenne pepper.

Chunky Red Chili
1 Tbsp. vegetable oil
1 lb. ground beef
2 onions, chopped
3 cloves garlic, minced
2 (14 oz.) cans petite dices tomatoes, undrained
2 cubinal pepper seeded and diced
2 carrots peeled and diced
1 (8 oz.) can tomato paste
1 Tbsp. chili powder
3 tsp. ground cumin
1 tsp. garlic powder
1/2 tsp. salt
1/2 tsp. pepper
1 tsp. cayenne pepper
1 bottle hard apple cider
2 (15 oz.) cans red kidney beans, rinsed and drained
1 (15 oz.) can black beans, rinsed and drained
4 cups chicken broth

In a large heavy bottomed pot heat the vegetable oil. Cook the onions until translucent. Add in the garlic, carrots, and peppers. Add in the ground beef and cook until the meat is browned.  Add in the tomato paste, chili powder, cumin, garlic, salt, pepper, cayenne pepper, and cook for 1 minute. Add in the Apple cider and scrap all the brown bits up from the bottom of the pot. Then add in the beans, jalapeno, and chicken broth. Bring to a boil, then reduce heat, cover and simmer for 50-60 minutes.

To freeze, Cool completely, then place in plastic freezer safe containers and freeze until solid.

To reheat, place chili in saucepan with 1/4 cup water and cook over medium heat, stirring occasionally, until reheated. At this point if you wan thicker chili you can add 1 Tbsp. cornstarch and cold 1/4 water mixture and stir well. Or you can reheat in the microwave, heaint in 1 minute intervals and stiring in between to help cook evenly. will take between 3 and 5 minutes.


Monday, December 3, 2012

The Wonderful World of Parsnips

Parsnips are a largely under utilized vegetable  it looks like a rounder white carrot, but the flavor is very different. Most people walk right past them in the store or only pick them up to put in their soup. I was the same way, until one day i decided to experiment with mixing mashed potatoes with some mashed parsnip to get some more vegetables into my husbands diet. They were awesome, and he never even knew.

When the parsnips are roasted they develop this rich nutty flavor and become velvety smooth when pureed, add a bit of butter and serve as a instead of mashed potatoes. You can steam you parsnips if you prefer and use the cooking liquid to thin out the mash. Best part is you can make a big batch now while the parsnips are at their peak and pull them out and serve any night of the week.

.

Basic Mashed Parsnips

Peel parsnips, remove the ends, then cut them lengthwise, in half. Lay parsnips on a piece of foil and drizzle olive oil over them. Sprinkle with salt and pepper. Close up the foil into a pouch and then bake in a 400 degree oven for approx. 30 minutes or until fork tender. Put in the food processor, add in 2 tbsp of butter and puree until you get the consistency you like. Serve or freeze in freezer safe container for up to 8 months, some people say 10 months, but i don't recommend past 8 months.

Variations:
Roasted Leek and Garlic Parsnip Puree: 3 large parsnips, 1 leek sliced, 2 garlic cloves peeled-  Roast all the vegtables as above, add in 1/2 cup milk or heavy cream.
Sour Cream and Chive Mashed Parsnip: Cook as directed above, add in 1/2 cup of sour cream, and 1 tbsp chopped chives, add in 3 tbsp butter and puree as above.
Parsnips, Carrot and Apple Mash: 4 parsnips, 4 carrots, 2 apples all peeled and sliced. Steam together until they are fork tender. put in the food processor, add in 1/2 tsp cinnamon, and puree together. (*this also  great for baby food)


Wednesday, November 28, 2012

Spinach and Walnut Pesto Crustini


Thanksgiving is over and now begins the season of cocktail parties, family gatherings and wine and cheese parties. I used to buy the boxes of pre-made appetizers because they are so easy to make, but then I realized what a rip off they really are. I could make such better tasting appetizers for 1/3 of the price. I make a little at a time, store them in the freezer and then pull it out the day of the party and heat. This way I don't have to spend the whole day cooking. 

Crostinis are an awesome appetizers. You can make the topping ahead of time, freeze it and then the morning of, thaw it out, and place on the toast. You can either make Bruschettini or buy it and just put it on a tray and serve. This crostini takes 5 minutes to make, literally. You throw everything in a food processor and then either serve or freeze.

This Pesto is made with baby spinach, but I have made it with frozen spinach in the past and it comes out fine. The key is if you’re going to use frozen spinach is that you defrost it and squeeze out the excess water, otherwise your pesto will come too watery. 
  
Spinach and Walnut Pesto Crostini
2 c packed baby spinach
1/2 c toasted walnuts
1/3 c Asiago cheese
1 clove of garlic
1/4 c olive oil

Put the spinach, walnuts, cheese, and garlic in the food processor. Pulse 3 times, then scrape down the sides, add about half the olive oil. Turn the food processor on and drizzle in the rest of the olive oil until a paste forms. I like mine slightly chunky, not so smooth, but blend until you get the consistency you want. Serve or freeze. Will last in the freezer for 4-6 months.